How To Install MySQL 8 on Ubuntu
Step 1: Install Oracle VM VirtualBox or Any available virtual environment
Step 2: Download Ubuntu 18 VM Image from any available website.
I downloaded from linuxvmimages
https://www.linuxvmimages.com/images/ubuntu-1804/
Please make important note provided in the page where you are downloading the images
SYSTEM & LOGIN DETAILS
vCPU: 1 , RAM: 2GB , DISK: 100GB , /boot : 500MB , swap : 4GB , / : 85GB ,/home: 10GB
Network: Bridged, Username: ubuntu , Password : ubuntu (to become root, use sudo su -)
Observation:
While Downloading and importing virtual appliance faced below error and noticed it is because of below two reasons
- Space issue
- Download issue – Double confirm you downloaded properly.
Note: You do not need 100GB. It will grow only when you start using it.
Step 3: Open Oracle VM Box and Import Alliance using the above downloaded file.
Step 4: Login to the VM Machine and confirm you are able to access internet and Download MySQL 8.0
$ sudo apt-get install wget
$ wget https://dev.mysql.com/get/mysql-apt-config_0.8.15-1_all.deb
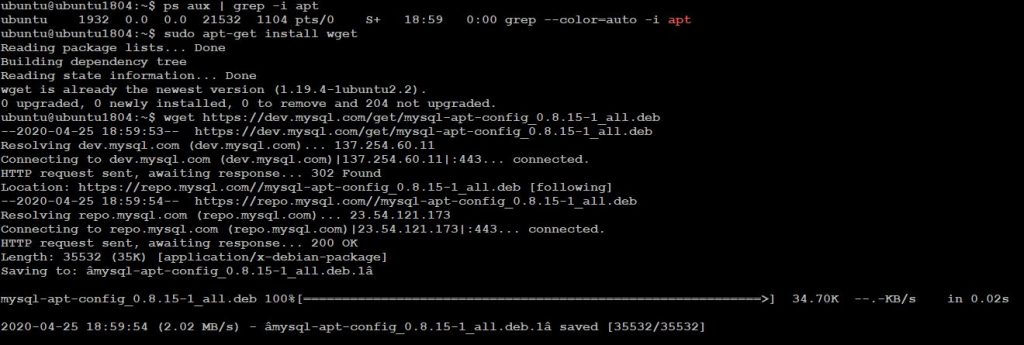
Note: The above command will run successfully only when you do not see any lock on dpkg. As ubuntu releases lot patches and if your VM is connected with internet then there as possible some unattended updates may be in-progress. Please make sure you kill those process or wait until it get completed.
ubuntu@ubuntu1804:~$ lsof /var/lib/dpkg/lock
ubuntu@ubuntu1804:~$ ps aux | grep -i apt
ubuntu 2152 0.0 0.0 21532 1032 pts/0 S+ 18:26 0:00 grep --color=auto -i apt
ubuntu@ubuntu1804:~$
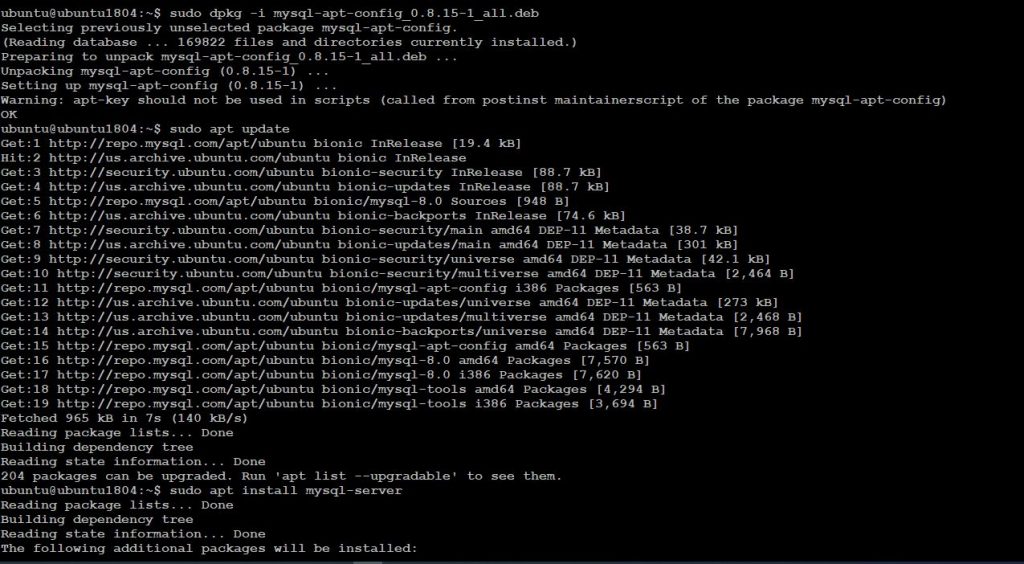
Step 5: Install MySQL Server
$ sudo dpkg -i mysql-apt-config_0.8.15-1_all.deb
Note: The above will allow you to Choose the version and press "OK"
This will bring back to Terminal Window
Once the repo has been added, update apt index and install mysql-server:
$ sudo apt update
$ sudo apt install mysql-server
Accept Agreement
Set root password for MySQL database
Select default Authentication plugin
Confirm installed version of MySQL server:
ubuntu@ubuntu1804:~$ sudo apt policy mysql-server
mysql-server:
Installed: 8.0.19-1ubuntu18.04
Candidate: 8.0.19-1ubuntu18.04
Version table:
*** 8.0.19-1ubuntu18.04 500
500 http://repo.mysql.com/apt/ubuntu bionic/mysql-8.0 amd64 Packages
100 /var/lib/dpkg/status

Step 6: Enable the MySQL Server
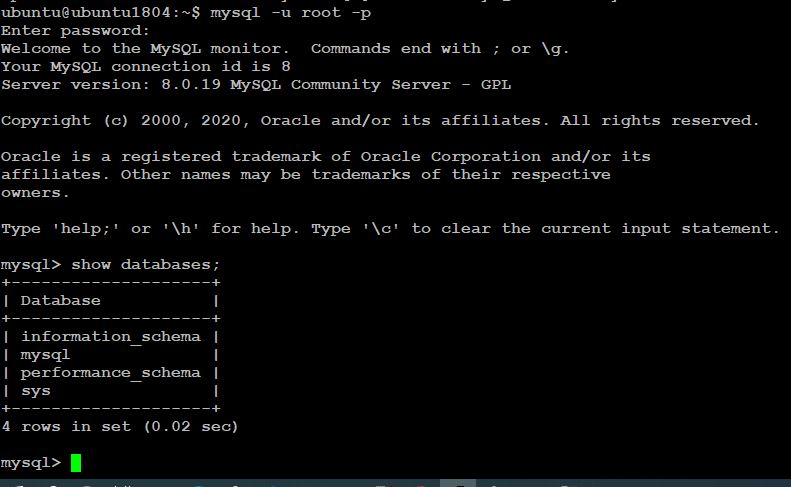
ubuntu@ubuntu1804:~$ sudo systemctl enable --now mysql
Synchronizing state of mysql.service with SysV service script with /lib/systemd/systemd-sysv-install.
Executing: /lib/systemd/systemd-sysv-install enable mysql
ubuntu@ubuntu1804:~$
Check the Status of MySQL
ubuntu@ubuntu1804:~$ systemctl status mysql
mysql.service - MySQL Community Server
Loaded: loaded (/lib/systemd/system/mysql.service; enabled; vendor preset: enabled)
Active: active (running) since Fri 2020-04-24 18:32:46 EDT; 2min 34s ago
Docs: man:mysqld(8)
http://dev.mysql.com/doc/refman/en/using-systemd.html
Main PID: 7775 (mysqld)
Status: "Server is operational"
Tasks: 38 (limit: 2332)
CGroup: /system.slice/mysql.service
7775 /usr/sbin/mysqld
Apr 24 18:32:17 ubuntu1804 systemd[1]: Starting MySQL Community Server…
Apr 24 18:32:46 ubuntu1804 systemd[1]: Started MySQL Community Server.
ubuntu@ubuntu1804:~$
Login to the database and confirm the functionality
ubuntu@ubuntu1804:~$mysql -u root -p
ubuntu


Issues Faced and Fixes :
root@ubuntu1804:~# sudo dpkg -i mysql-apt-config_0.8.15-1_all.deb
dpkg: error: dpkg frontend is locked by another process
root@ubuntu1804:~#
Reason:
May be some other package is using the dpkg
Find who is using it
lsof /var/lib/dpkg/lock
ps aux | grep -i apt
Kill the process if you do not need it.
kill PID
wait
kill -9 PID
Make sure process is done:
Then remove the lock file:
sudo rm /var/lib/dpkg/lock
Let dpkg fix itself:
sudo dpkg --configure -a